Return portal
Automate your return process
Build your own return portal, find the closest service point to the customer’s address, create return shipments, and download return labels.
The Sendcloud Return portal is an easy-to-use solution to allow your customers to create their own returns based on an outgoing shipment, and select a convenient service point location to drop-off their parcel.
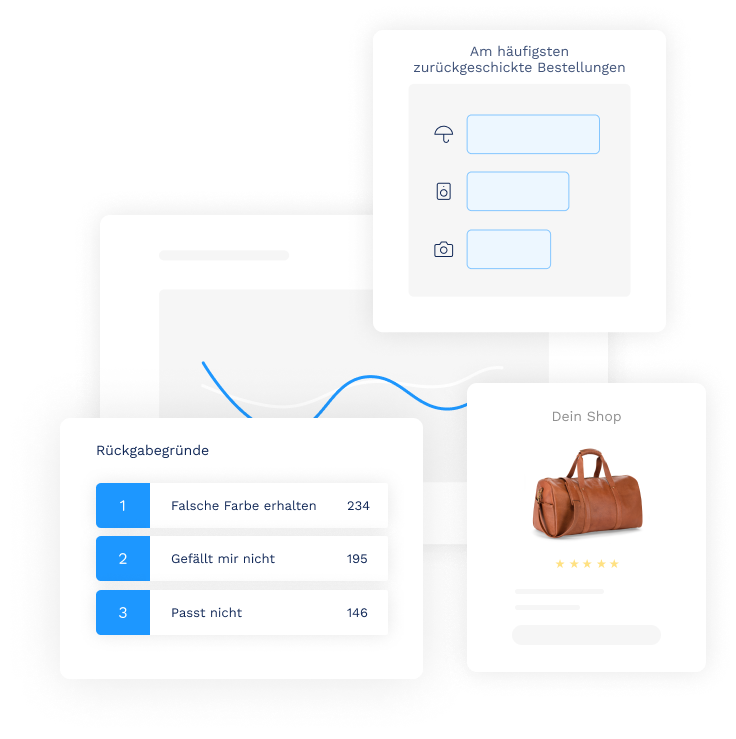
Build your own version of the Return portal
If you’re a developer, you can use the Return portal API to retrieve your configured settings and build your own custom portal. Head over to our API Reference to begin.
Creating returns through the Return portal
Once your Return portal is configured, you can access it via the URL you can find in your Return portal settings. From here, you can create returns directly in the portal or send the link to your customers so they can manage their own returns.
Set up your Return portal
- Follow the steps in Getting started with Sendcloud
- Create a brand
- Create a return address in your Address settings
- Configure your preferred return reasons, methods and carriers in your Return portal settings
Create a return through the Return portal API
You can use the Return portal API to build a custom, self-hosted solution which utilizes the settings you configured in the Sendcloud panel. Portal settings can be retrieved by making a GET request to the Return portal details endpoint.
Authentication
The Return portal API uses JWT authentication. Since this is a public facing API which can also be accessed by customers, access tokens are generated upon a successful outgoing parcel lookup.
- Retrieve the original shipment details via the Outgoing parcel lookup endpoint.
- Two JTW authentication tokens will be provided - one for creating a new return parcel, and one for looking up additional service point (drop-off) locations.
- In order to create the return parcel, include an
Authorizationheader with aBearerschema in your request, and enter theaccess_tokenyou obtained in the response from the Outgoing parcel lookup.
Retrieve an outgoing shipment
You can retrieve information about an outgoing shipment by making a GET request to the Outgoing parcel lookup endpoint.
You need to provide two parameters in your request; the postal_code of your customer and the parcel identifier. This can be either the tracking number, or the order number of the outgoing parcel.
You also need to include the brand domain name for your Return portal as a path parameter, as shown in the example below. Your domain name can be configured in the settings of the brand which is connected to your return portal.
Example request
GET
https://panel.sendcloud.sc/api/v2/brand/sendcloudtest/return-portal/outgoing
On a successful lookup, you will retrieve information about the original parcel, in addition to two JTW tokens: one to Create a return parcel and one to perform a Service point lookup:
1	"service_points_token": "eyJ0eXAiOiJKV1QiLCJhbG{...}x26njzam0Y",
2	"access_token": "eyJ0eXAiOiJKV1QiLCJhbG{...}kurXBu5UEE"
The response will also include a list of shipping_method_ids which you can use to create the return parcel. This list is based on the carriers you have enabled in the settings of your Return portal.
Service point information
In the response you will see information about the closest drop-off point (service_point object) to your customer’s location, based on their post code and applicable carriers. You can use this information to specify a drop-off location when you create the return parcel.
If any of your enabled carriers support labelless returns, then the nearest labelless_service_point will also be retrieved. This can be used to specify the a drop-off location which supports labelless returns if you want to use this specific return type.
Below is an example of how the service_point and labelless_service_point will appear in the response:
  1{
  2    "service_point":
  3    {
  4        "id": 3611,
  5        "code": "da09195fb4904882846b67e4a9cecd3a",
  6        "is_active": true,
  7        "shop_type": null,
  8        "extra_data":
  9        {},
 10        "name": "DUMMY-9b6a0ac5c75b4ff3",
 11        "street": "Sesamstraat",
 12        "house_number": "4",
 13        "postal_code": "5670PQ",
 14        "city": "Eindhoven",
 15        "latitude": "51.446700",
 16        "longitude": "5.461100",
 17        "email": "devnull@sendcloud.nl",
 18        "phone": "+31401234567",
 19        "homepage": "https://www.sendcloud.nl",
 20        "carrier": "ups",
 21        "country": "NL",
 22        "formatted_opening_times":
 23        {
 24            "0":
 25            [
 26                "13:30 - 17:15"
 27            ],
 28            "1":
 29            [],
 30            "2":
 31            [
 32                "09:00 - 12:00"
 33            ],
 34            "3":
 35            [
 36                "09:00 - 12:00",
 37                "13:30 - 17:15"
 38            ],
 39            "4":
 40            [
 41                "09:00 - 12:00"
 42            ],
 43            "5":
 44            [],
 45            "6":
 46            [
 47                "09:00 - 12:00"
 48            ]
 49        },
 50        "open_tomorrow": false,
 51        "open_upcoming_week": true,
 52        "distance": 435
 53    },
 54    "labelless_service_point":
 55    {
 56        "id": 3611,
 57        "code": "da09195fb4904882846b67e4a9cecd3a",
 58        "is_active": true,
 59        "shop_type": null,
 60        "extra_data":
 61        {},
 62        "name": "DUMMY-9b6a0ac5c75b4ff3",
 63        "street": "Sesamstraat",
 64        "house_number": "4",
 65        "postal_code": "5670PQ",
 66        "city": "Eindhoven",
 67        "latitude": "51.446700",
 68        "longitude": "5.461100",
 69        "email": "devnull@sendcloud.nl",
 70        "phone": "+31401234567",
 71        "homepage": "https://www.sendcloud.nl",
 72        "carrier": "ups",
 73        "country": "NL",
 74        "formatted_opening_times":
 75        {
 76            "0":
 77            [
 78                "13:30 - 17:15"
 79            ],
 80            "1":
 81            [],
 82            "2":
 83            [
 84                "09:00 - 12:00"
 85            ],
 86            "3":
 87            [
 88                "09:00 - 12:00",
 89                "13:30 - 17:15"
 90            ],
 91            "4":
 92            [
 93                "09:00 - 12:00"
 94            ],
 95            "5":
 96            [],
 97            "6":
 98            [
 99                "09:00 - 12:00"
100            ]
101        },
102        "open_tomorrow": true,
103        "open_upcoming_week": true,
104        "distance": 435
105    },
106    "shop_distances":
107    [
108        {
109            "id": 7,
110            "distance": 805705
111        }
112    ]
113}
Creating the return parcel
Using the access_token you retrieved from the outgoing parcel lookup step, you can create a return parcel via the Create a return endpoint. You can create your return parcel using any of the Return methods enabled in your portal settings.
Downloading the return label
Once a return parcel is successfully created, a polling URL is included in the response. Creating a label depends on the response time of the carrier, so you need to poll this endpoint to see the status of the label. The authentication token and parcel id is already included in the URL, so it’s not necessary to perform another lookup or provide any additional parcel details.
200 response will indicate that the label is ready to be downloaded in PDF format via the URL.
Service points search
By default, performing an Outgoing parcel lookup will return the closest service point location to the customer, based on their postcode. If you’re using the Return portal API to build your own returns solution, you may want to provide more drop-off locations for your customers to choose from.
To facilitate this, you can retrieve a list of available service points within a specified search radius. This is done by making a GET request to the Service points search endpoint.
You’ll need to provide the service points access_token you received via the Outgoing parcel lookup step to authenticate, and specify the following additional parameters:
- The
countrycode of your customer - The
latitudeandlongitudeof the customer’s address. This is returned from the Outgoing parcel lookup endpoint. - A search
radiusin meters - (Optional) The
carrierfor which you want to receive drop-off locations
Example request:
GET
https://servicepoints.sendcloud.sc/api/v2/service-points/?access_token=eyJ0eXAiOiJKV1QiLCJ{...}KO7zPPcXAbL_WZYOU&country=NL&latitude=51.440316&longitude=5.473478&radius=500